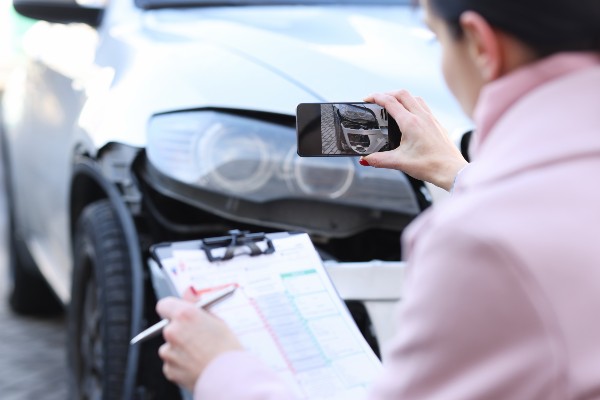
Many people agree that a picture is worth a thousand words. Pictures are probably worth more than that, however, as evidence after a traffic accident. If you suffer a severe injury, of course, you will not be able to take photographs of the accident until later. Even then, take pictures of the accident as soon as possible, or have a friend do so.
Unfortunately, in the absence of photographs, much of the evidence after an auto accident will come down to “he said, she said.” Taking good pictures can make the difference between winning and losing your claim. Photographing the accident can help you reconstruct it and establish fault so that you are not held responsible. An adequately documented accident can win you a settlement with an insurance company or a verdict in court.
Before you photograph anything, go to your settings and turn on timestamping. A smartphone will do this automatically, but a digital camera may or may not. Timestamping will record the date, time, and location of each photograph.
Without timestamping evidence, you leave yourself open to questions about the timing of the accident or whether, say, your photograph of skid marks even came from the accident at issue. Insurance companies and opposing lawyers will seize upon even the slightest ambiguity in your evidence.
Do not put yourself in danger by standing in traffic or delaying medical treatment so that you can photograph the accident. That being said, the following is a description of the main categories of photographs that you will need to take.
If the accident is a freeway pileup, for example, photograph every single vehicle. No matter how few or how many vehicles in the accident, make sure you include some photographs that show all the vehicles in the accident within the frame of the same photograph. That way, you can prove the relative positions and angles of the vehicles after the accident. This will help with accident reconstruction. You should thoroughly photograph:
The location and intensity of skid marks are a particularly valuable accident reconstruction tool. Skid marks can even tell you whether one of the drivers exceeded the speed limit at the time of the accident. Skid marks on the sidewalk are particularly revealing. However, they do not necessarily indicate that the accident was the skidding driver’s fault (the driver may have swerved to avoid an obstacle on the road, for example).
When photographing skid marks, take at least one skid mark at close range (a few inches) to show the marks’ intensity and take at least one photo that can show the skid marks in relation to the other cars and any strewn debris. Try to take skid mark photos as soon as possible after the accident, because they wash away quickly.
You should also photograph the area surrounding the accident to pick up clues as to how the accident transpired and who was at fault. In particular, look for:
Additionally, take photos of anything else at the scene that might have been relevant to the accident.
Don’t rely entirely on photos taken by your health care provider to establish your injuries. Doctors take photos for treatment purposes, but you will need to take photos for legal purposes. Seek assistance from friends and family if necessary. Keep taking photographs as time passes to record the existence of any persistent or permanent injury, such as a cast or scarring.
The same advice regarding distances and angles that was presented above applies to photographing your injuries as well. Take photographs from a variety of distances and angles. A photo of you in traction, if necessary, might help if you plan on claiming damages for “pain and suffering” (which you should, in most cases).
Witness testimony could be crucial to establishing your claim. With the witnesses’ permission, of course, you should photograph the witnesses and any documents that establish their contact details, such as their driver’s licenses. Be sure to photograph any possible defendant’s insurance card, such as the driver of another car.
Photograph anyone involved in the accident, along with their IDs, at least to the extent that they will allow it. This includes even passengers. Remember, an injured passenger might exaggerate their injuries to get more money from an insurance policy, leaving less for you if the procedure is limited to a single cumulative total per accident.
Photograph the signs for every surrounding business, at least to the extent that the business might have a security camera close enough to have inadvertently filmed the accident. After the accident, you might seek footage from a security camera to see if the accident was caught on camera. Move quickly, however, so that the owner will not delete the footage before you ask for it.
The most important principle to observe when photographing an accident is “When in doubt, photograph.” Plan to take ten times as many photographs as you will need, and plan to sort out the relevant from the irrelevant later. There is no need to buy an expensive camera, however, just to photograph an accident.
Take photographs of each item from at least three different distances (close, medium, and far) to provide maximum perspective:
Use common sense, of course—some objects are so small that you can’t even see them from 20 feet away. There is no sense, for example, in taking a long-distance photo of someone’s driver’s license.
Photograph each item from multiple angles to the extent that it makes sense to do so. Pay attention to lighting and flash as well. Finally, provide perspective by keeping a familiar landmark visible across various photographs to provide a sense of scale. A dollar bill works well for small items. Overall, make sure that your pictures provide the maximum amount of information.
If your claim is controversial and its value is high, you might want to consider retaining a professional accident reconstruction specialist’s services. An accident reconstruction specialist can provide compelling testimony or even an affidavit to show your insurance adjuster. It is best to involve an accident reconstruction specialist immediately following an accident.
The accident reconstruction specialist will use scientific principles to reconstruct an accident involving an automobile, a motorcycle, a truck, a bus, or a pedestrian. Any photographs or other physical evidence that you provide is likely to aid the accident reconstruction specialist in reconstructing the accident significantly.
An accident reconstruction specialist might, for example:
An accident reconstruction specialist might use these techniques and many others to generate their conclusions.
It’s hard to argue with the laws of physics. Accident reconstruction specialists are feared by insurance companies and defendants precisely because they base their conclusions on hard-to-dispute evidence, such as stopping distances based on mathematics, physics, and engineering.
Suppose an accident reconstruction specialist investigates an accident and comes to conclusions that favor your claim. In that case, the other side might be reduced to attempting to dispute the specialist’s credibility. This is almost always a desperation strategy. It is also a very common precursor to a generous settlement offer from the other side.
The experienced Connecticut car accident lawyers at Berkowitz Hanna have accumulated several decades of combined experience winning claims. Although we cannot guarantee results in any particular case, our record of multi-million dollar verdicts and settlements is long and distinguished.
If you have suffered an injury from a traffic accident that you believe was caused by the negligence or other wrongdoing of someone else, call us today or contact us online for a free, no-obligation case consultation. We serve clients throughout the state of Connecticut from our offices in Stamford, Bridgeport, Danbury, and Shelton.
Berkowitz Hanna